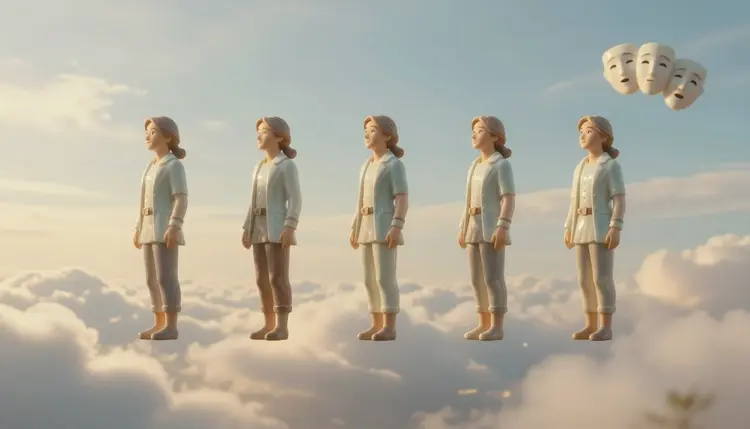
A character that looks right in one picture and wrong in the next is the oldest problem in illustration, and AI image models make it more visible, because every generation is a fresh roll of the dice. A character sheet is the fix: one fictional character drawn from the front, side and back, plus a row of faces, so every later image has something to match. Here is how to build one, and where it stops holding together.
Every image model generates from scratch. Ask for the same red-haired explorer ten times and you get ten cousins, not one person. A character sheet is how illustrators, animators and game artists have always solved that: before drawing the story, they draw the character once, from several sides and with a handful of faces, so everyone downstream works from a single source of truth.
AI makes the sheet cheap to produce and cheap to revise. You describe a fictional character in a paragraph, generate the views, and fix what is off while changing your mind still costs a few credits instead of a week of drawing. Picasso IA puts 212 text-to-image models behind one interface, which matters here because generating a character and editing a character are different jobs, and different models are better at each; the full catalog lists all of them. New accounts get free credits, enough to find out whether your character survives a rotation before you spend anything.
The sheet also pays off later. It is the reference you attach to every future prompt, whether the next step is a comic page, a game sprite, a storyboard or a 3D model.
A useful sheet is a small set of fixed views, each one answering a question a later artist or model will ask. Five pieces cover most projects, and each has a typical way of going wrong.
| Sheet piece | What to ask for | What usually drifts |
|---|
| Front view | Neutral standing pose, arms slightly away from the body, plain light grey background | Proportions differ a little from the other views |
| Side view | Profile, same outfit, same flat lighting | Hair length and nose shape change |
| Back view | Seen from behind, hair and clothing fully visible | Details the model never saw get invented, such as straps or pockets |
| Three-quarter view | Turned about halfway between front and side | The face reads like a cousin of the original |
| Expression row | Same head, several faces: neutral, joy, surprise, anger, sadness | Apparent age and face shape shift between faces |
Two choices make the whole sheet easier to read. Use a plain background and flat, even light, because shadows and scenery tell the model to change things you wanted to keep. And write the character description once, in a fixed order (build, hair, skin tone, clothing from the top down, props, art style), then paste it unchanged into every prompt. Reordering the same words is enough to nudge a face.
If your character carries something important, a sword, a satchel, a pair of goggles, add a small props strip as a sixth piece. It gives later images a shape to copy instead of a guess.
This walkthrough uses the toolkit and assumes a fictional character you invented yourself, about twenty minutes, and no drawing skills.
- Write the character description once. Build, hair, skin tone, clothing in order, two or three props and an art style such as flat illustration or soft 3D render. Save it as a block of text you paste unchanged into every later prompt.
- Generate the front view. Open the toolkit, pick google/nano-banana-pro, ask for a neutral standing pose on a plain grey background and generate a few options. Keep the one you would be happy to see a hundred more times.
- Add the other angles with that image as reference. Attach the winner, which nano-banana-pro accepts as one of up to 14 reference images, and ask for the same character from the side, from behind and turned three-quarters, one view per generation.
- Build the expression row. Keep the front view attached and ask for one expression at a time, or for a row of heads on one canvas, then repair any face that drifted with an editing model such as flux-kontext-pro.
- Upscale and assemble. Run the views through an upscaling model if details look soft, lay them side by side in any layout tool and keep that file as your master reference.
Each view is its own generation, so expect to run a few of them twice. That is normal, and it is still faster than drawing the angles by hand.
No method is perfect, so use several at once. The levers below are the ones the models on Picasso IA actually expose.
Reference images come first. Nano-banana-pro takes up to 14 of them alongside your prompt, and the approved front view is the most useful one you can give it. Start with that single clean reference and add more only when a specific view needs them; a pile of mixed references gives the model more to average out.
Editing beats regenerating. Models such as flux-kontext-pro and qwen-image-edit-plus take an image plus a plain instruction, so you can change the sleeve length or the smile without rolling a new person. Change one thing per instruction, because every extra change is another chance for the face to move. Flux-kontext-pro also exposes a seed value, so you can reuse it while you adjust the wording and see what the wording alone changed.
Finally, keep the vocabulary constant. The same description block, the same style words and the same background phrase in every prompt remove variables you would otherwise be debugging by eye.
Tip: compare views by laying them side by side at the same height before you accept any of them. Drift is nearly invisible when you look at one image and obvious when two sit next to each other, and it is far cheaper to fix on view two than on view eight.
The same techniques scale up to whole casts; consistent AI characters goes deeper on keeping a character steady across a long project.
A model does not rotate your character. It draws a new image that resembles the old one, and that distinction decides where the method stops working:
- Back views: the model has never seen the back of your character, so it invents it; decide the hair, straps and fastenings in the description, and treat the back as a proposal to approve rather than a fact.
- Consistency across angles: small drift in face shape, hair volume or seam placement between views is normal, and it grows with every generation away from the original reference.
- Complex outfits: layered clothing, repeating patterns and many small accessories drift first, so simplify the design before you blame the prompt.
- Extreme expressions: wide screams and big laughs change the geometry of the face enough that it can stop reading as the same person; subtle expressions hold better.
- Not a true turnaround: the views will not line up pixel for pixel, so heights and eye lines wobble; a team that needs calibrated orthographic drawings should redraw them or work from a 3D model.
If you need exact alignment, image to 3D model is the next step, and AI 3D characters covers rigging and animation. For anything else, a sheet that is close and consistent enough is what most projects actually need.
The sheet is a reference, not the final art. Attach the front view, or the one that matches the pose you need, to every new prompt and keep the description block next to it. Comics are the obvious home, and AI comics and manga shows the page-level workflow. Tabletop players use the same sheet for D&D character art, and filmmakers use it as the anchor for storyboards.
A note on whom the character is. Keep sheets for fictional characters, or for people who have agreed to appear. Do not build a sheet around a real, identifiable person without their consent, and check the current rules of the platform where you publish before using characters in a commercial project.
What is an AI character sheet?
It is a reference page for one fictional character: several views of the same figure, usually front, side and back, plus a row of facial expressions. Artists use it so every later drawing matches. With AI, you generate the views with image models and use the sheet as the reference you attach to future prompts, which is the closest thing to continuity a text-to-image model offers.
Which model should I use for a character sheet?
A practical pairing is google/nano-banana-pro for generating the views, since it accepts up to 14 reference images, and flux-kontext-pro or qwen-image-edit-plus for fixing details. None is guaranteed to hold a face perfectly, so test the same character on two of them and keep the one that drifts less. The catalog has 212 text-to-image models if you want to try more.
How do I keep the face the same in every view?
Attach the approved front view as a reference to every generation, reuse the exact same description block, and keep the art style and background words unchanged. Then compare the results side by side and repair the worst offender with an editing model instead of regenerating from scratch. You will still see small differences, and that is a limit of the technology rather than of your prompt.
Can the AI generate a true back view?
It can generate a plausible one, but it is a guess. The model has only seen the front of your character, so hair length, straps and fastenings on the back are invented. Write those details into the description before you generate, and approve the back view as a design decision. If it matters, redraw or correct it by hand.
Can I make an expression sheet from one image?
Yes. Attach the front view, ask for the same character with one expression at a time, and keep everything else in the prompt identical. Subtle expressions such as a slight smile, surprise or worry hold the face better than wide screams or laughs, which tend to change the face shape. Generate a few options per expression and keep the best.
Can I use a photo of a real person to start a sheet?
Only if the person is you or has clearly agreed. Do not make sheets of real, identifiable people without their permission, and do not use a photo of someone else as a shortcut. For characters you want to sell or publish, an invented character is both safer and easier to keep consistent, because you control every detail in the description.
Can I turn the sheet into a 3D model?
A sheet gives you front, side and back views, which is the kind of reference 3D tools like to start from, and Picasso IA has image-to-3D models in its 3D category. The result still needs checking, and complex outfits and hidden angles are where it breaks first. Treat the model as a draft you refine rather than a finished asset.
Can I use the characters commercially?
That depends on the terms of the models you use, the platform where you publish and the law where you live, and rules on AI-generated work are still changing. Check the current requirements of every platform before you publish a character commercially, and keep your own notes on how the character was made. The pricing page explains how credits work, not what you may do with the output.
Why does my character change when I rotate it?
Because the model is not rotating anything. It draws a fresh image from your prompt and references, so anything the references do not pin down is a fresh decision. Fewer changes per prompt, a clean front reference, an unchanged description block and an editing model for corrections reduce the drift. They do not remove it entirely.
How much does a character sheet cost to generate?
A sheet is several image generations, and each one costs credits that depend on the model and the settings you choose, such as resolution. New accounts get free credits to start. Current plans and credit costs are listed on the pricing page, which is the only place worth trusting for numbers, since they change.
Open the Picasso IA toolkit, generate your front view and see how far one approved image can carry the rest of the sheet.