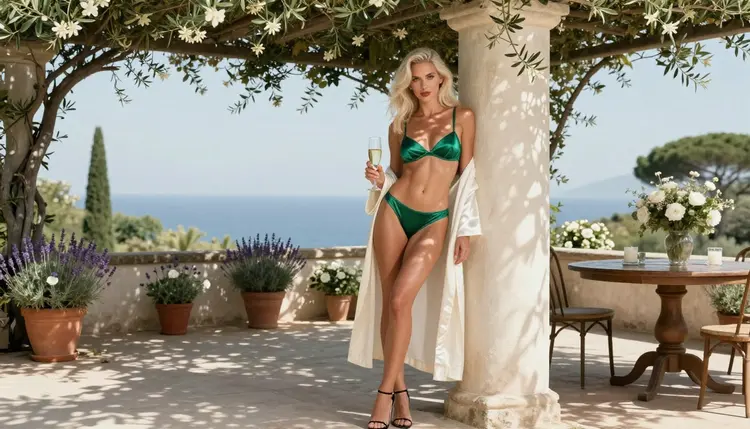
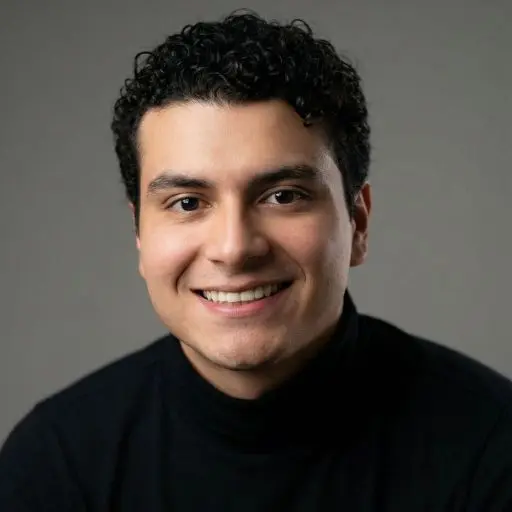
A single reference photo tells the model who to draw. A second one tells it where she is standing, what the light feels like and which fabrics belong in the frame. When you combine the two inside one prompt, you stop fighting the generator with long descriptions and start directing it like a photographer who hands over a moodboard. This guide shows how to attach two images in the toolkit, how to point to each one with its badge, and how to word a spicy but never explicit glamour prompt so both references carry weight.
Everything here is for adults and for fictional characters only. The examples use boudoir and lingerie styling, satin, robes and soft window light, and they stay suggestive instead of graphic.
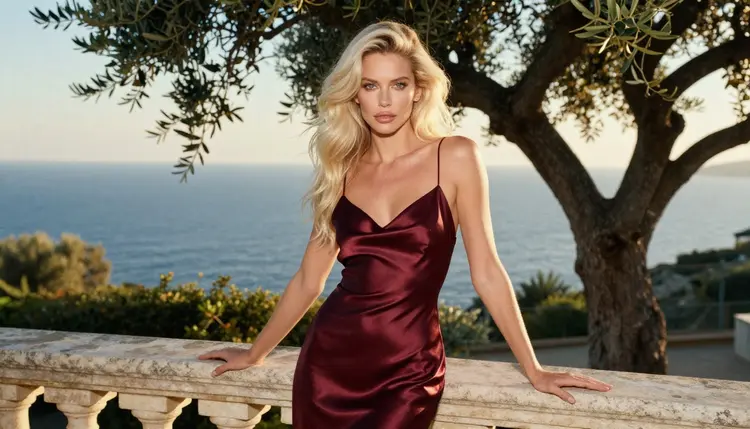
A text prompt alone has to describe everything: the face, the hair, the dress, the room, the time of day, the lens. The longer it gets, the more the model drops or blends. A reference image does that job in one shot. It carries thousands of small decisions that you would never think to write down, such as the exact shade of platinum blonde, the glow of makeup under warm light or the grain of old limestone.
One reference is useful, but it forces a choice. If you attach only the character, the model invents the background. If you attach only the location, the model invents the woman. Two references split the work: one image owns the subject, the other owns the world around her. Your prompt then only has to say how they meet.
This split is also what keeps a series consistent. Say you have a fictional adult character you like, a glamour model with long platinum-blonde hair and light eyes. Keep that portrait as the first reference and swap the second one between a villa terrace, a dusk balcony and a lavender garden. The woman stays recognizable while the scenery changes. It is the same logic behind a character sheet, and if you want to go further in that direction, Create NSFW Images for an Original Character Reference Sheet covers how to build a set of poses around one character.
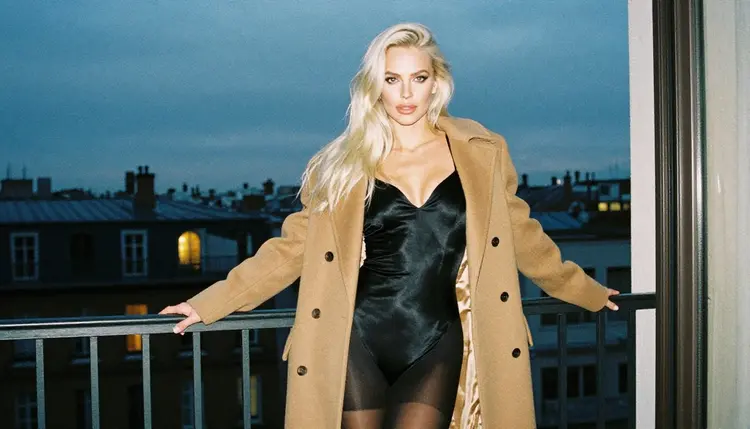
There is one more reason to use two references: control over mood. A location photo shot at golden hour pushes the output toward warm backlight and long shadows. A location photo at blue hour pushes it toward cool ambient light and glowing windows. You do not need to type the words, because the image already says them. You can still add words to reinforce it, and that is where the wording section below comes in.
Picasso IA handles the plumbing. In the toolkit, each attached image gets an @1 or @2 badge, and you can refer to it by that badge inside the prompt. Picasso IA then translates the reference into the syntax the selected model understands, so you do not need to learn a different convention for every model.
The badges only appear on models that accept several inputs. That is the quickest test: attach two images, and if both badges show up, the model you selected can use both. If only one is accepted, or none, switch to another model in the same category before you spend a generation.
Among the models Picasso IA has tested with adult prompts, three are image models and are confirmed to generate instead of reject. Confirmed means Picasso IA ran adult prompts against that exact model repeatedly and watched it produce results. It is not a published setting from the model's maker, who can change it at any time. You can read the full explanation in what confirmed means.
| Model | Best for | Format |
|---|
| Seedream 4.5 | Photoreal glamour portraits and settings | Text to image, 4K |
| Recraft V4.1 Pro | Illustrated or designed looks, print-ready sheets | Images at 2K |
| Picasso Image Editor Pro | Changing an existing picture, such as swapping the wardrobe or the room | Photo editing, unlimited |
Use Seedream 4.5 when you want a realistic photograph that looks shot on film. Use Recraft V4.1 Pro when the result should feel designed, like a poster or a pin-up layout. Use Picasso Image Editor Pro when you already have a picture you like and only want to change one part of it. It is marked with the infinity tag, so it does not spend credits on the plans that include unlimited generation.
Video models are confirmed too, namely LTX 2.3 Pro, Picasso IA Video and Seedance 2.5 Lite. A common workflow is to build the perfect still from two references first, then bring that still to life as a short clip, because Picasso IA Video accepts text or an image as input.
Every other model in the catalog is untested: worth a try, not confirmed either way. If you want to test one for reference blending, browse the full catalog, attach your two images and see whether the badges appear. Treat the result as an experiment and keep your confirmed model as the fallback.
The process is short once you know the order. First prepare the pictures, then attach them, then write the prompt around the badges.
- Pick two clear images. Choose one portrait of your fictional adult character and one location or mood photo, both sharp and without text or watermarks.
- Open the toolkit and attach both. Select a model that accepts several inputs and add the portrait first and the location second, so the badges read @1 and @2.
- Assign a job to each badge. Write one short sentence that says what @1 provides (the woman, her hair, her makeup) and what @2 provides (the room, the light, the textures).
- Add wardrobe, pose and lens. Describe the satin slip, the robe or the bodysuit, one simple pose and a lens such as 85mm f/1.8, then keep the rest of the prompt short.
- Generate, compare and adjust one thing. Read the result against both references, change only one phrase, and run it again.
The badges tell the model which image you mean. The sentence around each badge tells it what to take from that image. Without that second part, the model guesses, and it usually guesses by averaging the two pictures into something that matches neither.
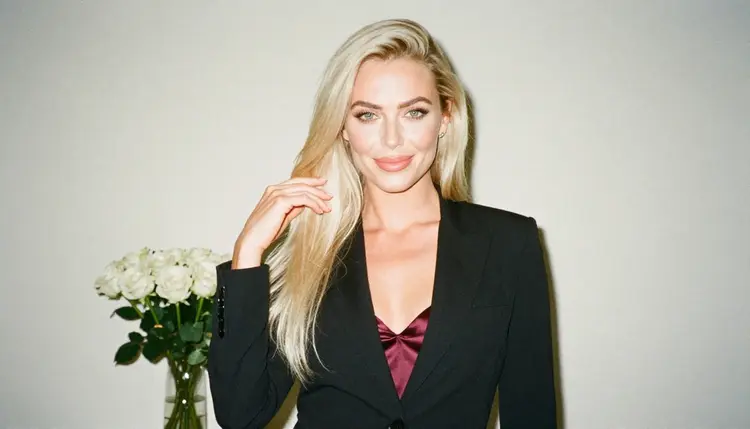
Start with a clear division of labor. A reliable pattern is: who, then where, then what she wears, then how it is shot. For example: "The woman from @1, with her platinum-blonde hair and glamour makeup, standing on the terrace from @2, in a burgundy satin slip dress, golden hour backlight, 135mm f/2, raw film photograph." Every clause has one purpose, and neither badge is left without a job.
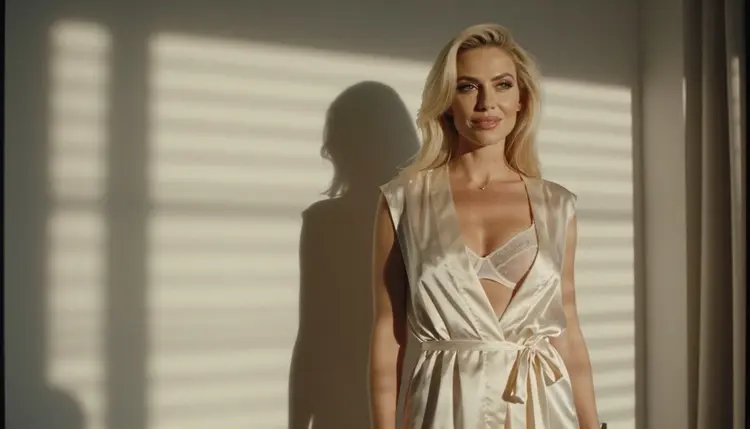
Next, say what to keep and what to ignore. If the location photo has a person in it, add "use only the architecture and the light from @2". If the portrait has a distracting background, write "use only her face and hair from @1". This is the single most effective fix for a prompt that mixes things up, because it removes the model's chance to borrow the wrong detail.
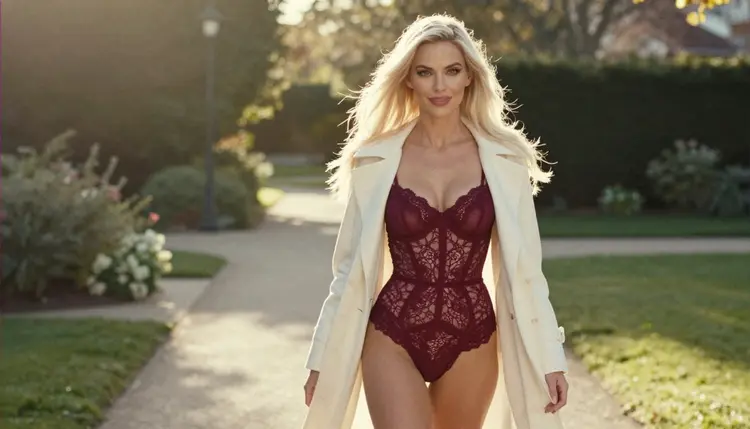
The wardrobe is better described in words than carried by a reference, unless the outfit is the whole point of one image. Satin slips, lace bodysuits, silk robes, a black blazer over a camisole and a camel coat over a bodysuit all work as plain phrases. Keep the styling glamorous and suggestive: bare shoulders, a robe slipping off one arm, a hand on a railing. The goal is a fashion editorial that hints, not a picture that shows everything.
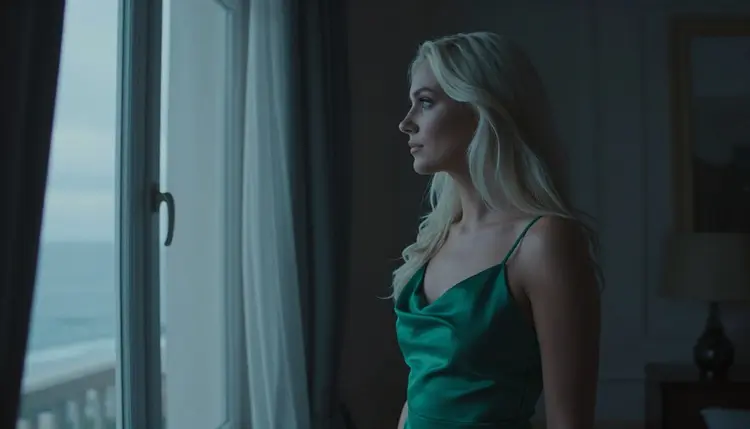
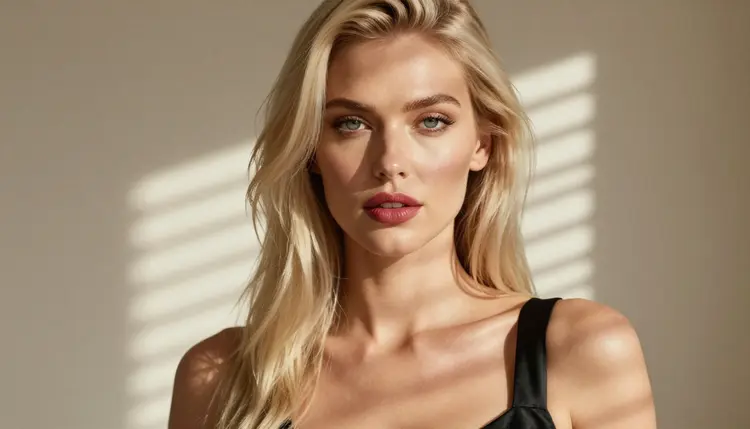
Light deserves its own clause even when the location image already has it. Words like "golden hour backlight", "hard morning sun through blinds" or "cool blue hour ambient light" reinforce what the reference shows and make it less likely that the model drifts toward flat studio lighting. Pair the light with a lens and the picture gets a clear character: a 135mm f/2 gives compressed, flattering portraits, a 24mm f/2.8 shows more of the room and an 85mm f/1.8 is a safe choice for a window frame.
Keep prompts short once the references carry the load. A good two-reference prompt is often four sentences, not twenty. If you find yourself describing the room in detail, that is a sign the second reference is not doing its work, and you should check that it was attached and that the badge is mentioned.
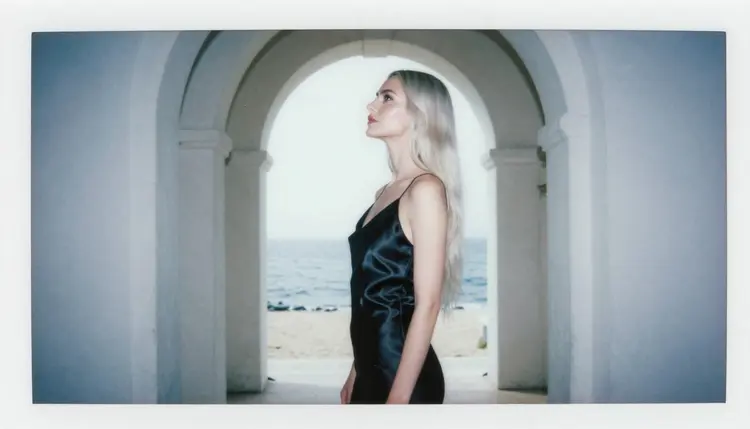
You can also use the two references to change a mood on purpose. Keep @1 the same and swap @2 from a sunlit villa terrace to a dusk balcony. Keep the sentence about the woman identical and only change the sentence about the place. This gives you a controlled comparison and it shows exactly what the second image contributes. For a related technique that anchors the body position instead of the setting, see NSFW Art From a Reference Pose.
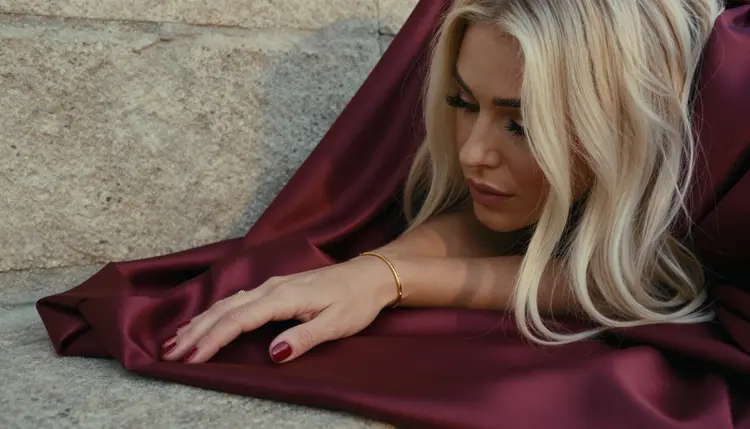
Details are the last layer. A close-up of one hand on folded satin, or a profile silhouette against a stone archway, is easy to get when the second reference is a texture or a shape rather than a full scene. Ask for exactly one hand when you want a detail shot, and mention it directly, because hands are where generators slip most often.
If you work in a more stylized direction, the same logic applies. A pin-up layout built from a portrait and a retro setting reference follows the same pattern, and NSFW Prompt Template for Pin-Up Art gives you wording to start from. For costume work, NSFW Prompt Template for Cosplay Photos pairs well with a costume reference as the second image.
Most failed blends come from the same small set of problems. They are all cheap to fix once you recognize them.
The first mistake is using two references that fight each other. A moody blue hour portrait combined with a harsh noon location creates conflicting light, and the model will pick one or smear both. Fix it by choosing references with compatible light, or by naming the light you want in the prompt so it overrides one of them.
The second mistake is leaving the badges out of the prompt. Attaching two images and then writing a normal text prompt leaves the model to decide what each one means. Always mention @1 and @2 by name and give each one a job. If the badges are not visible at all, the selected model does not take several inputs, and you should pick another one.
The third mistake is overloading the prompt. Long paragraphs about the dress, the room and the mood compete with the references. Cut everything the images already say. If the location photo shows white roses and stone, you do not need to type white roses and stone.
The fourth mistake is a low quality reference. Blurry, heavily compressed or cropped images give blurry results. Use the sharpest version you have, with the subject clearly visible and nothing covering the face or the setting.
The fifth mistake is changing three things between runs. When a result is close but not right, change one phrase and generate again. That way you learn which words did the work. If the problem is a specific unwanted detail, a short negative list helps, and How to Write Negative Prompts for NSFW AI Images explains how to build one.
The last mistake is expecting one run to be final. Treat the first output as a draft. Compare it with both references, note what drifted, and adjust. A short loop of two or three tries is normal. If you want to turn the process into a reusable formula, NSFW AI Prompt Generator: Build One Step by Step shows how to assemble prompts from parts.
If you get the message titled "Content Not Supported by This Model", the model you chose declined the request. Picasso IA recommends models that accept adult prompts and carries your prompt over, so you do not have to retype anything. Switch to one of the confirmed models and run it again.
This section is short on purpose, and it applies to every page of the section. The content is for adults only, 18+. Do not use these tools if you are under 18, and do not share results with anyone who is.
Every character you create must be a fictional adult. Never use a photo of a real or identifiable person as a reference, and never create anyone who could read as a minor. A reference image is an instruction, not a loophole: if the source picture is not a fictional adult, do not attach it. Use portraits you generated yourself or characters you invented.
Generations are private by default. What you create is tied to your account and is not published or shown to other people. Credits vary by model and by options such as resolution. A new account can try a few generations in a small free trial on selected models, and the details of plans live on the pricing page.
Can I attach more than two reference images?
It depends on the model. The badges only appear on models that accept several inputs, and the number of inputs differs between them. Attach your images in the toolkit and check which badges show up. For this guide two is the practical sweet spot: one for the subject, one for the setting.
What do the @1 and @2 badges mean?
Each attached image in the toolkit gets a badge in the order you added it. You can write @1 or @2 inside the prompt to point to that image. Picasso IA translates the reference into the syntax the chosen model understands, so the same wording works across models that accept several inputs.
Which image should go first?
Put the portrait of your fictional character first and the location or mood image second, so @1 is the woman and @2 is the place. The order is not magic, but a consistent habit makes prompts easier to read and to reuse across a series of pictures.
Do I need to describe the references in words as well?
Briefly. Say what each badge provides, for example the woman from @1 and the terrace from @2, then add the wardrobe, the pose and the lens. You do not need to repeat what the images already show, and long descriptions often work against the references.
Why does the output ignore one of my references?
Usually the prompt never named it, or the selected model does not accept several inputs. Mention both badges, give each a clear job, and confirm that both badges appear. If one image still has no effect, try another confirmed model such as Seedream 4.5.
Can I change only the outfit and keep everything else?
Yes. For that kind of edit, Picasso Image Editor Pro is built to change an existing image. Attach the picture, name the part to change, such as a satin robe instead of a blazer, and say that the pose and the setting stay the same.
Can I use a photo of a real person as a reference?
No. Only fictional adult characters are allowed. Never attach a picture of a real or identifiable person, and never create anyone who could read as a minor. Use portraits you generated yourself or characters you invented, and keep everything 18+.
Can I turn the combined image into a video?
Yes, a common route is to finish the still first and then animate it. Picasso IA Video takes text or an image, and Seedance 2.5 Lite is listed up to 10 seconds. Both are confirmed for adult prompts.
Are my reference images and results public?
No. Generations are private by default, tied to your account and not published or shown to others. That includes the pictures you attach. Even so, only use fictional adult characters, because privacy does not change the rules of the section.
Is it free to try?
A new account can try a few generations in a small free trial on selected models. Models with the infinity tag do not spend credits on the plans that include unlimited generation. For details, open the pricing page and compare it with the model you want to use.