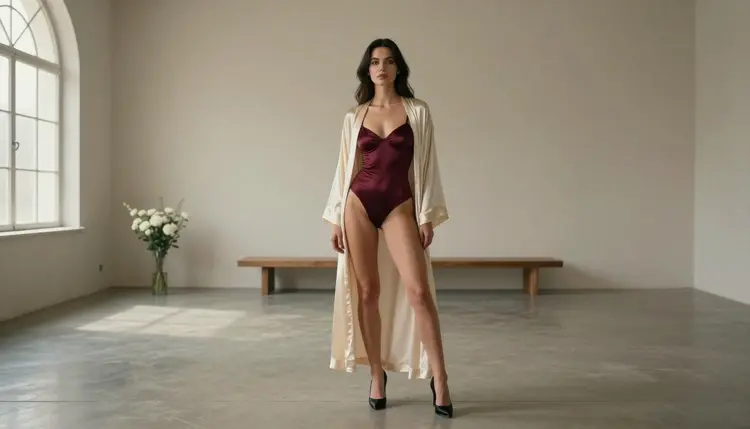
A glamour portrait that looks sharp on a phone can fall apart once it is printed at poster size. The screen hides the problem, because it shows the image at a size where every pixel is tiny. Paper shows it all. This guide explains how print size, pixels and DPI relate, how to work out the file you need before you generate anything, and how to prepare adult boudoir and pin-up art for a wall, a desk or a private album. Everything here is for fictional adult characters, 18+ only.
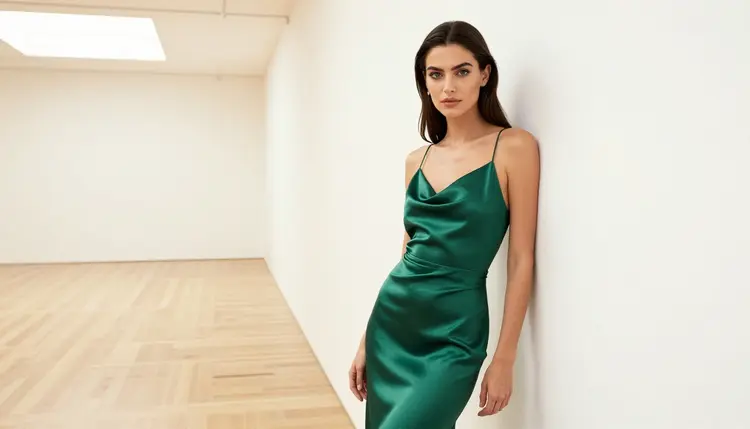
A digital image is a grid of pixels. A print is a physical object with a width and a height in inches or centimeters. DPI, short for dots per inch, is the number that links the two: it says how many pixels of the image are squeezed into each inch of paper. The same file can be a crisp 8 by 10 inch print and a blurry 24 by 36 inch poster, and the only thing that changed is how far the pixels were stretched.
The rule is simple. Pixels equal inches multiplied by DPI. A print that is 8 inches wide at 300 DPI needs 2400 pixels across. A print that is 10 inches tall at 300 DPI needs 3000 pixels down. If your file is smaller than that, the printer or the shop software has to invent the missing pixels, and invented pixels look soft, blocky or waxy. On skin, satin and lace, which are the textures that make boudoir art work, softness is the first thing people notice.
Why 300 DPI? It is the usual target for prints that people hold or view from arm's length, such as a desk print, an album page or a small frame. At that density the eye cannot pick out individual dots. Larger pieces hung on a wall are seen from farther away, so they get away with fewer pixels per inch, and a lower DPI is common there. We will look at the numbers in the fourth section.
There is a second reason to think about this before you generate: aspect ratio. Most frames and papers are portrait or landscape rectangles with fixed proportions, such as 2 by 3, 4 by 5 or 3 by 4. If your image has different proportions, something gets cropped, and a crop throws away pixels you may have needed. Planning the ratio first protects the face, the hands and the edge of the robe from being cut off.
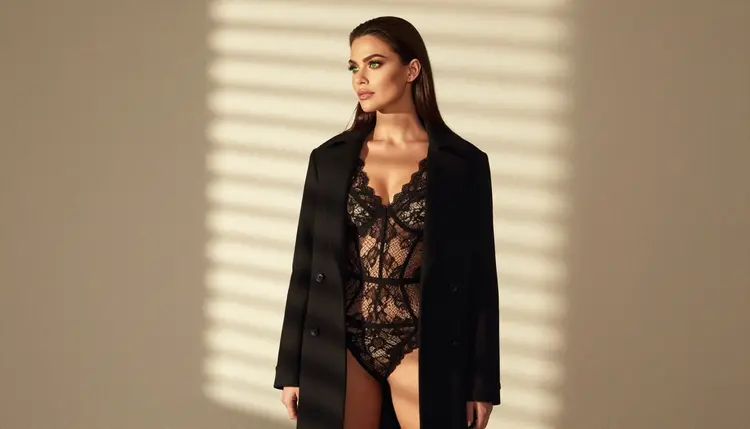
Picasso IA runs in the browser, and you work in the toolkit. For print, the useful question is how much resolution a model gives you at the start. Three confirmed models fit this job. "Confirmed" means Picasso IA tested adult prompts against that exact model repeatedly and watched it generate instead of reject; it is not a published setting of the model's maker, who can change it at any time. You can read what that word covers on the page about what confirmed means.
Seedream 4.5 is listed for 4K images from text, which makes it the first choice when the print is large or when you want room to crop. Recraft V4.1 Pro is listed as print-ready at 2K and is strong on illustration and design, so it suits stylized pin-up posters and flat graphic looks. Picasso Image Editor Pro edits an image that already exists, which is how you fix a small flaw before printing without regenerating the whole picture. It carries the infinity tag in the catalog, so it does not spend credits on plans that include unlimited generation. Details are on the pricing page.
The catalog also holds tools in a super-resolution category that enlarge images. They are untested for adult images: worth a try, not confirmed either way. If you want to see what is available, browse the full catalog. Treat an upscaler as a rescue step, not as a replacement for generating at a good size in the first place. A model that draws 4K detail from the start will beat a small image that was enlarged afterwards, because it adds real fabric weave and skin texture instead of smoothing.
For related technique, the guide on turning a sketch into finished art shows the editor at work on an existing image, and the page on seed control explains how to repeat a composition you liked so you can render it again at a larger size.
The short version of the whole workflow is below. Each step has a fuller explanation in the sections that follow, and the numbers come from the simple multiplication you saw above.
- Choose the print size. Decide the width and height in inches or centimeters, and note the aspect ratio of the frame or paper.
- Work out the pixels. Multiply each side by the DPI you want, 300 for close viewing, less for a large wall piece.
- Generate at the highest size. Use a model with a high maximum resolution and ask for the aspect ratio that matches your print when the model offers it.
- Fix or enlarge if short. Use the editor for small flaws, and try a super-resolution tool only if the file is still under your target.
- Check and export. Zoom to full size, look for soft areas, keep a lossless or high-quality copy and send it to the printer.
Start with the size of the print, because everything else follows from it. Common sizes in inches are 4 by 6, 5 by 7, 8 by 10, 11 by 14, 12 by 18, 16 by 20, 18 by 24 and 24 by 36. Here is what each needs at 300 DPI for the sizes people order most:
An 8 by 10 print needs 2400 by 3000 pixels. A 12 by 18 print needs 3600 by 5400 pixels. A 16 by 20 print needs 4800 by 6000 pixels. A 24 by 36 print needs 7200 by 10800 pixels. The last one is far beyond what most image models draw in one pass, which is why DPI is flexible for big pieces.
For a large wall print, people usually accept 150 DPI or even less, because nobody stands with their nose against a poster. At 150 DPI, a 24 by 36 print needs 3600 by 5400 pixels, which is well within reach of a high-resolution generation plus a modest enlargement. A good habit is to ask what distance the print will be seen from. A framed boudoir portrait on a hallway wall is viewed at several steps. A small print on a desk is viewed at a few inches. Match the DPI to the distance, not to a number you saw once.
Centimeters work the same way, you only convert. There are about 2.54 centimeters in an inch, so a 30 by 40 centimeter print is roughly 11.8 by 15.7 inches, and at 300 DPI it needs about 3543 by 4724 pixels. Many online print services display the pixel target for each size, so check that figure before you decide.
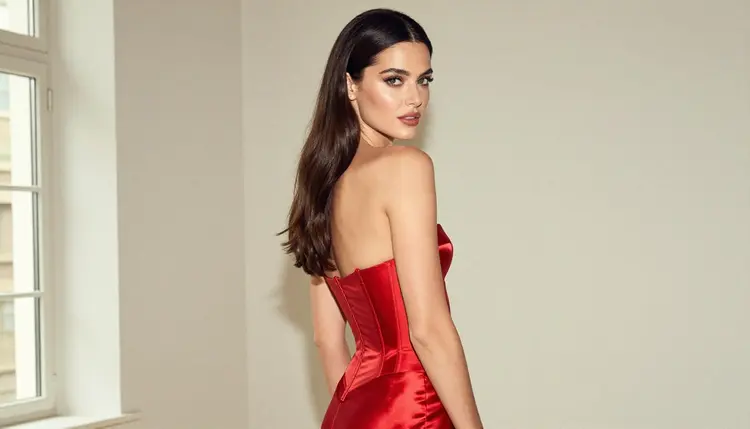
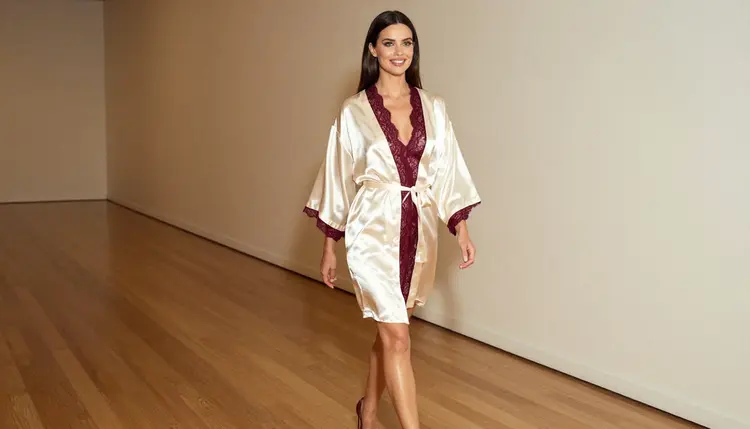
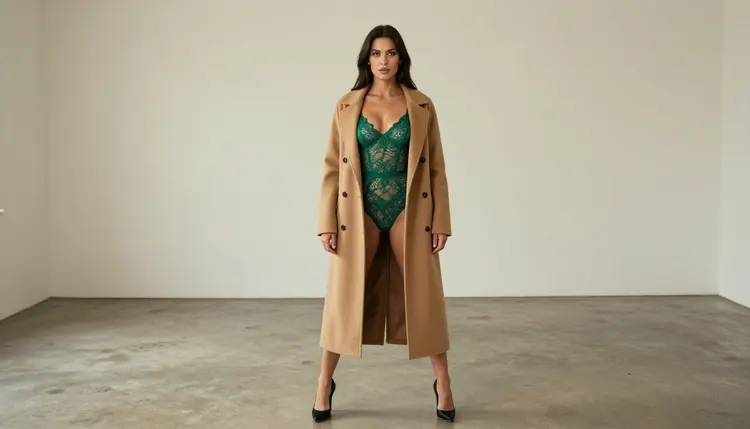
Now the aspect ratio. A landscape image does not become a portrait print without cropping. If you generate a wide scene and want a tall 2 by 3 print, you lose most of the width. When the model offers an aspect ratio option, choose the ratio of the print before generating. A tall composition with the model standing full length suits 2 by 3 and 3 by 4 frames. A waist-up portrait fits 4 by 5. A wide gallery-style frame works for a landscape print. If the ratio is slightly off, leave breathing room around the subject in the prompt so a crop does not clip the hair or the hem of a robe.
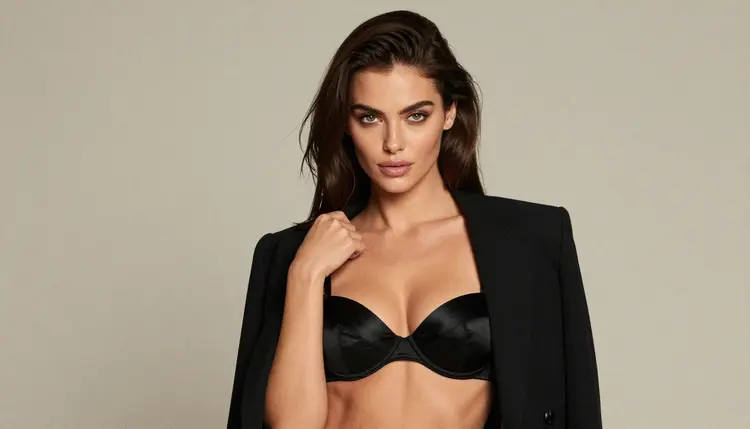
The prompt can help the resolution too. Ask for the detail the print will show: satin with visible sheen, lace with a clear pattern, skin with natural texture, soft daylight, a lens such as 85mm or 70mm. Models draw more crisp detail when you describe fine surfaces than when you leave the finish vague. A plain wall, a simple gallery room or a studio backdrop also prints better than a busy scene, because large flat areas hide no flaws and let the subject carry the frame. For wording ideas, the pin-up prompt template lists the parts of a prompt in a useful order, and the guide on generating art in a specific style helps when the print should follow a defined look.
Next, think about color. Screens glow, paper reflects. Deep reds, burgundy and emerald in satin can look darker and flatter on paper than on a bright display. Many printers use a smaller range of colors than a monitor, so a very saturated tone can shift. The safe method is to print a small test of the face and one fabric area before ordering the large size. If the test looks dull, raise brightness and contrast a little in the editor and test again.
Finally, think about edges. Many print shops ask for a small extra margin around the image, called bleed, so that trimming does not leave a white line. Some also keep a safe zone where nothing important should sit near the border. Read the shop's template or upload notes. Leaving a little empty space around the subject in the original generation makes this easy. A tight crop on a face at the very edge of the frame is the case that goes wrong most often.
Stretching a small file. The most common mistake is to take a small image, set it to a large size and hope. The printer will enlarge it, and the result looks soft. Fix it by starting from a higher resolution, by lowering the print size, or by accepting a lower DPI for a piece that will be viewed from far away. If you must enlarge, try a super-resolution tool and compare the result at full size before ordering. These tools are untested for adult images, so judge each result by eye.
Ignoring the aspect ratio. An image that does not match the frame is cropped by the print service, and the crop is often centered, which can cut the top of the head or the hands. Fix it by choosing the ratio first and checking the framing in a preview before you pay for the print.
Judging on the screen at fit size. When an image is shown fitted to the screen, you are looking at a shrunken copy. Fix it by zooming to full size, or 100 percent, and scrolling over the face, the hands and the fabric. Soft areas that vanish at small size show up here.
Printing from a compressed copy. A heavily compressed picture saved from a chat app or a social site has lost detail you cannot get back. Keep the original download from your account, in a lossless format such as PNG or a high-quality JPEG, and send that one. If the shop asks for TIFF or PDF, export it from the original.
Trusting the screen colors. A bright display flatters the picture. Fix it with a small test print, and adjust brightness before the large order. Dark satin and deep lipstick tones are the first to go muddy.
Forgetting artifacts. At poster size, a small flaw such as an odd finger, a stray strap or a blurred earring becomes obvious. Look at the picture at full size before printing and use Picasso Image Editor Pro to correct it. If the same face keeps drifting between renders when you make a matching set, the guide on fixing the same face problem can help, and the page on reference poses helps keep poses consistent across a series.
Mixing sizes in a series. If you want three or four prints that hang together, generate them at the same resolution and ratio, with the same light and the same wall color in the prompt. A set looks deliberate when the proportions, the margins and the tones match. For a set about body proportions in a single style, see the page on prompting different body types.
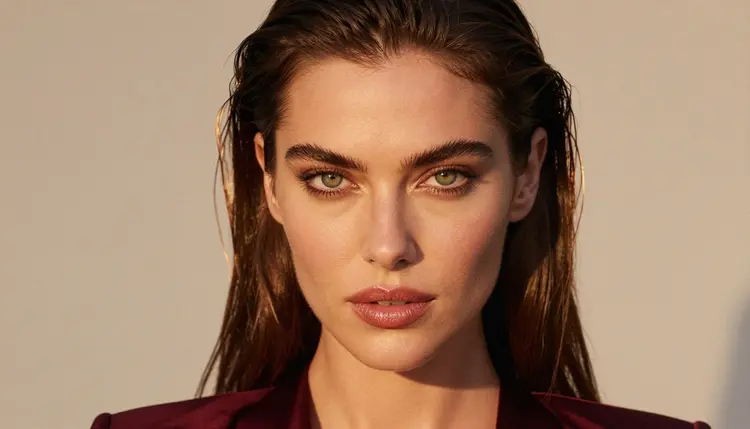
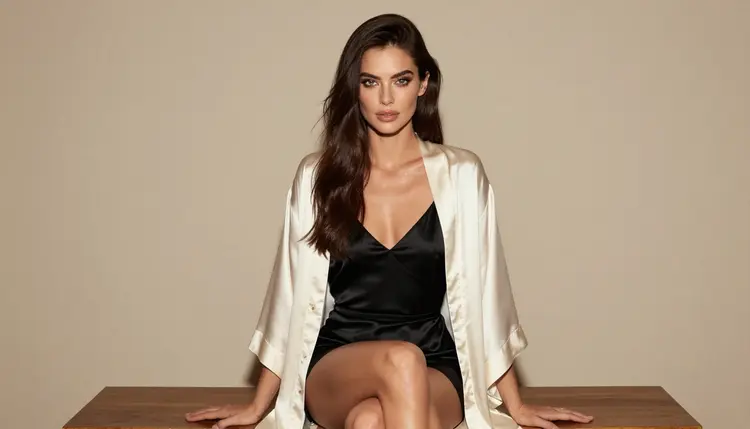
Picasso IA is for adults. You must be 18 or older, and the adult material on this page is meant for adults only. The wardrobe in these prints is boudoir and glamour: satin, lace, robes, coats, heels. It is provocative, not explicit.
Every character you create must be a fictional adult. Do not use a real or identifiable person, and do not create anyone who could read as a minor. This applies to prompts, to reference images and to anything you print and display.
What you generate is private by default: it is tied to your account and not published or shown to others. What you do with a printed copy is your decision, including which print service you send it to, so read that service's content rules first. A small free trial on selected models lets you try a few generations before you decide, and the pricing page explains how generation works on each plan. The unlimited tag marks models that do not spend credits on plans that include unlimited generation.
What DPI should I use to print NSFW AI art?
Use 300 DPI for prints that people look at from arm's length, such as desk prints, album pages and small frames. For a large piece on a wall, 150 DPI is a common and acceptable target, because it is viewed from farther away. Match the DPI to the viewing distance and to the pixels your file actually has.
How do I calculate the pixels I need?
Multiply each side of the print, in inches, by the DPI. An 8 by 10 inch print at 300 DPI needs 2400 by 3000 pixels. A 12 by 18 inch print at 300 DPI needs 3600 by 5400 pixels. If your file is smaller, the printer enlarges it and the picture gets softer.
Which model should I start with for a big print?
Start with Seedream 4.5, which is listed for 4K images from text and is confirmed for adult prompts in Picasso IA. For print-ready illustration and pin-up design, Recraft V4.1 Pro is listed at 2K and is also confirmed.
Can I upscale a small image instead of regenerating it?
You can try. The catalog has super-resolution tools, but they are untested for adult images, so check each result at full size before you order. Generating at a high resolution from the start usually gives cleaner skin, fabric and lace than enlarging a small file afterwards.
Does the aspect ratio matter for printing?
Yes. Frames and papers have fixed proportions, and an image with a different shape is cropped. Pick the ratio of the print before you generate, and leave some empty space around the subject so a crop does not cut the hair, the hands or the hem of a robe.
Which file format should I send to the printer?
Send the original download from your account, in a lossless format such as PNG or a high-quality JPEG. Avoid copies saved from chat apps or social sites, which are compressed. If the shop asks for TIFF or PDF, export it from the original file, not from a compressed one.
Why do my prints look darker than the screen?
Screens emit light and paper reflects it, and printers cover a smaller range of colors than many monitors. Deep reds, burgundy and emerald fabrics are the most affected. Order a small test print of the face and one fabric area, then lift brightness a little in the editor if needed.
What is bleed and do I need it?
Bleed is a small extra margin that some print shops ask for around the image, so trimming does not leave a white edge. Check the shop's template. Leaving some empty space around the subject when you generate makes it easy to add the margin without losing anything important.
Are the people in these images real?
No. Every character is a fictional adult, never a real or identifiable person and never anyone who could read as a minor. Picasso IA is for adults aged 18 and over, and the pictures it creates stay private by default and are tied to your account.
Can I try this before paying?
A new account can try a few generations for free on selected Picasso IA models, so you can test the size and look of a picture before you choose a plan. The pricing page has the details. Models with the unlimited tag do not spend credits on plans that include unlimited generation.