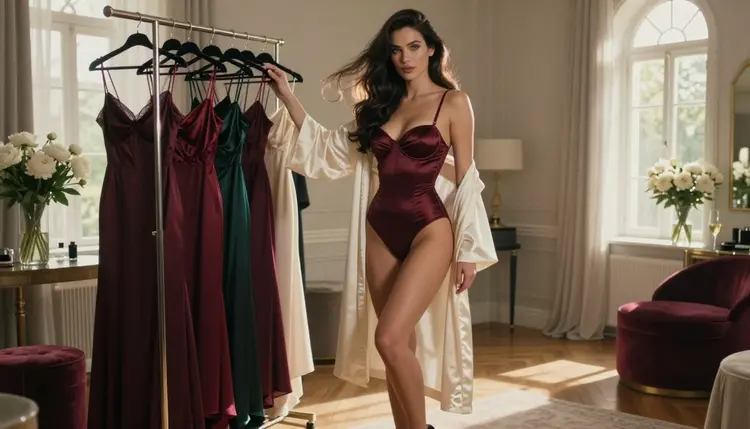
You made a character you like. The face is right, the mood is right, and now you want the same woman with her hair pinned up, or in a different bodysuit, or wrapped in a long coat instead of a robe. The wrong way to get there is to rewrite the whole prompt and hope. The right way is to treat hair and outfit as two small edits on a picture you already trust. This guide shows how to do that with Picasso IA, which settings and words matter, and what usually goes wrong.
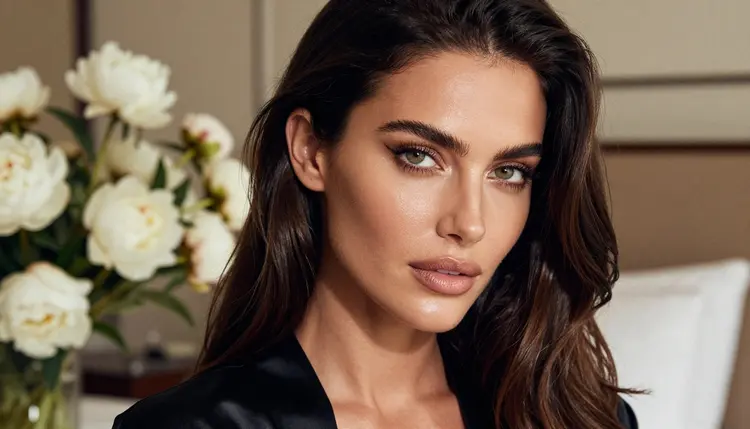
Everything here is about fictional adult characters, 18+ only, with glamour, boudoir and swimwear styling that stays suggestive and never explicit. If you are still building the character itself, start with how to build an NSFW character from scratch and come back once you have a base image you like.
A text prompt describes a whole picture at once. When you change one word in a long prompt, the model is free to change everything else too: the face shifts, the light moves, the background swaps. That is fine when you want a new image. It is a problem when you want the same character in a new look.
Editing solves this by starting from a finished picture. You attach the image, name one thing to change, and tell the model to keep the rest. The woman, the room, the lens and the light stay where they are. Only the hair or only the clothes move. That is why a hair change and an outfit change work best as two separate passes: each pass has one job, and if the result is off, you know exactly which instruction caused it.
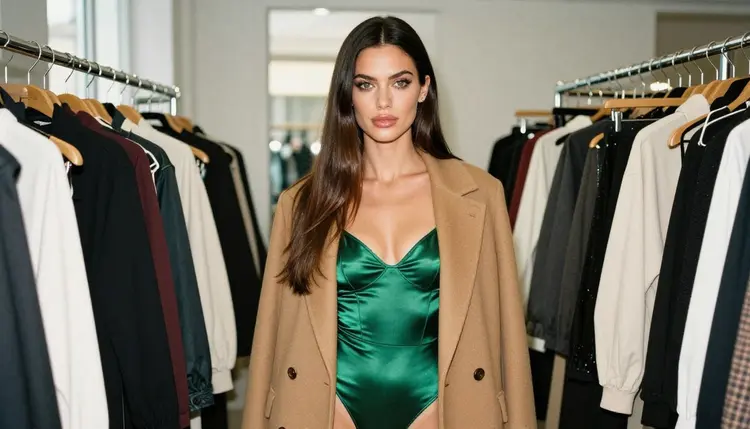
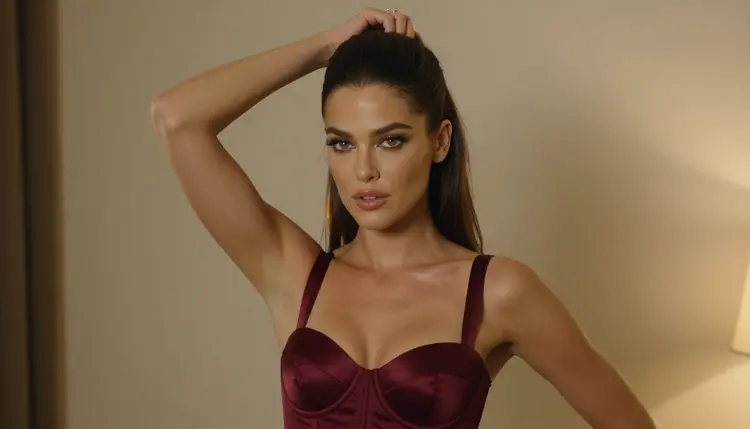
There is a second reason to split them. Hair and clothing sit close together in the frame. A long wave of dark-brown hair falls over a collar, a high ponytail exposes the neckline of a corset top, a coat changes how the shoulders read. When you ask for both at once, the model has to guess how they interact. When you do them one after the other, the first edit becomes the new base and the second edit works around it.
The look you are after is the one from a fitting room or a boutique mirror: the same adult, a different choice of styling, the same photographic light. Wardrobe and hair are the most natural things to vary, because they are what a real photographer would change between takes while the model and the location stay put.
A few terms used in this guide. The base image is the picture you start from. An edit pass is one generation with one requested change. A keeper is a result you save as the new base for the next pass. Keeping those three ideas straight makes the rest of the guide short.
Picasso IA runs in the browser, so there is nothing to install. You work in the toolkit, attach your base image, write the prompt and generate. Picasso IA keeps what you create private by default, tied to your account.
Three confirmed models cover this job. Confirmed means Picasso IA tested adult prompts against that exact model repeatedly and watched it generate instead of reject. It is not a published setting of the model's maker, who can change it at any time.
| Model | Best for | Format |
|---|
| Picasso Image Editor Pro | Editing an existing image: hair, clothing, small details | Image in, image out |
| Seedream 4.5 | Photoreal new frames when you want to restart from text | Text to image, 4K |
| Recraft V4.1 Pro | Illustrated or design-led versions of the same look | Print-ready images, 2K |
Picasso Image Editor Pro is the main tool for this guide because it edits a picture you already have. It carries the unlimited tag in the catalog, and a new account can try a small free trial on selected models that includes it. Details are on the pricing page. Seedream 4.5 is the fallback when an edit drifts too far and you decide to regenerate the look from a fresh prompt, and Recraft V4.1 Pro is the choice when you want the same outfit as an illustration rather than a photo.
Two more editing models in the catalog are worth a try, but they are untested. Flux Kontext Pro is described as editing images with text prompts, and Qwen Image Edit Plus is described as AI photo editing online. Picasso IA has not tested adult prompts against them, so they are not confirmed either way. If you try one and it refuses, the app shows a message titled "Content Not Supported by This Model", recommends models that accept adult prompts and carries your prompt over, so you do not retype anything. You can browse everything else in the full catalog.
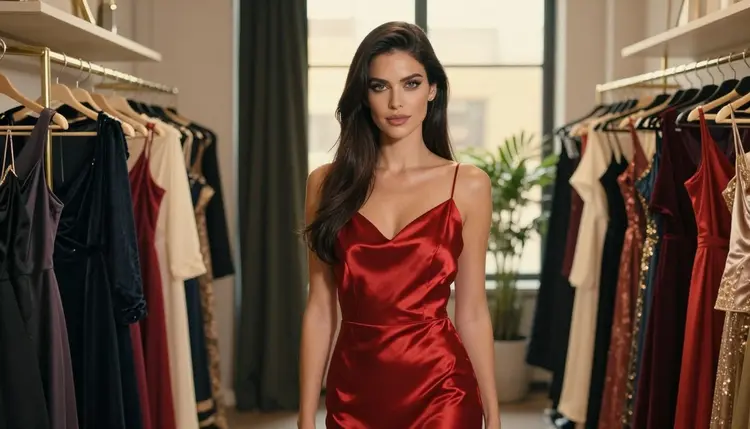
Work in small passes. Each step below does one thing, and the order matters: hair first, then clothing, because clothing sits on top of the neckline and shoulders that your new hairstyle exposes or covers.
- Choose the base image. Pick the picture where the face, light and framing are already right, ideally a three-quarter or waist-up frame where both hair and clothing are clearly visible.
- Attach it and name what stays. Open Picasso Image Editor Pro in the toolkit, attach the base image, and write one sentence listing what must not change: the face, the light, the room, the pose.
- Request one change. Add a single instruction for the hair, for example a sleek high style, and nothing about clothing yet.
- Compare and save the keeper. Generate, look at the result next to the base, and save the version where the face still matches as your new base.
- Repeat for the outfit. Run the same loop with the keeper attached and one instruction about the clothing, then save the final look.
If you want to carry the finished look across a whole series, the guide on keeping an NSFW character's face consistent covers the face side of the same problem.
Most of the quality in an edit comes from how you word the instruction, not from any hidden setting. These are the habits that work.
Say what to keep before what to change. An edit prompt reads best in two parts. First the anchor: "keep the same woman, the same face, the same light and the same background." Then the change: "change only the hairstyle to a sleek high style with a few loose strands at the neck." Putting the anchor first makes the model treat the rest of the frame as fixed.
Describe hair with length, shape and finish. "Change her hair" gives the model too much room. Name the length (shoulder length, long, a short bob), the shape (loose waves, straight and sleek, a high ponytail, a low chignon) and the finish (glossy, soft matte, slightly tousled). Keep the color in the sentence if it should not change: "dark-brown" stays dark-brown only when you say so.
Describe clothing with fabric, color and cut. The same logic applies to wardrobe. A lined emerald satin bodysuit under an open long camel coat tells the model far more than "a nice outfit". Name the fabric (satin, lace, silk, knit), the color (burgundy, ivory, emerald, black) and the cut (bodysuit, slip, corset top, robe, gown). For swimwear, name the style and the material the same way.
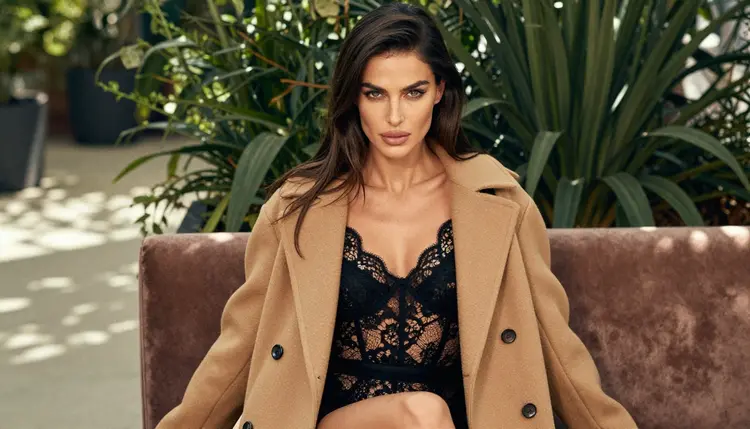
Change one layer at a time. If the character wears a slip under a coat, decide which layer you are editing. "Replace the coat with a burgundy satin robe, keep the ivory slip underneath" is clear. "Change the outfit" is not.
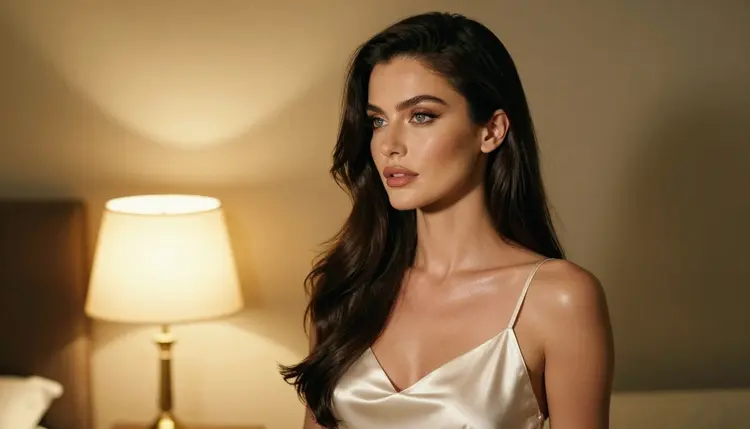
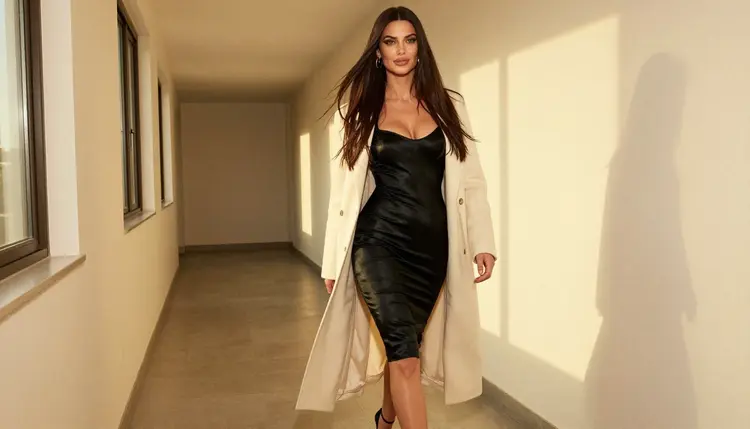
Match the light in the instruction. If the base image has golden hour backlight and you write an outfit that sounds like a studio flash scene, the model may relight the picture. Add "in the same golden hour backlight" to the end of the edit, and the lighting stays with the picture.
Use a reference image for a specific garment. In the toolkit, each attached image gets an @1, @2 badge when the model accepts several inputs, and you can refer to it in your prompt. Attach your base image as @1 and a picture of the garment or hairstyle you want as @2, then write something like "dress the woman in @1 in the outfit from @2, keep her face." Only models that accept several inputs show the badges, so check the model page first.
Write before and after phrasing for yourself. Keep a small log of what you asked and what you got. A pair like "before: change her look; after: change only her hair to a high sleek style, keep the face and the light" teaches you quickly which version produces clean results. Over a few sessions you will build a list of hairstyle and wardrobe phrases that work for your character.
Keep the framing readable. Edits are easier when both hair and clothing are visible. A tight close-up gives the model little wardrobe to work with, and a very wide frame makes the hair small. A waist-up or three-quarter frame is the sweet spot for both changes.
When your character already has a signature look, the page on generating a consistent NSFW character explains how to keep that identity stable while you vary the styling around it.
The face changes after the edit. This is the most common problem. It usually means the instruction was too broad or left out the anchor. Fix it by starting the prompt with what must stay the same, by shortening the edit to one change, and by running the edit again from the base image instead of from a drifted result.
The hair and the outfit both change when you asked for one. The prompt probably mentioned both, even in passing. Remove any wardrobe words from a hair edit, and any hair words from an outfit edit. A phrase like "her hair falls over the collar of the new top" invites the model to restyle both.
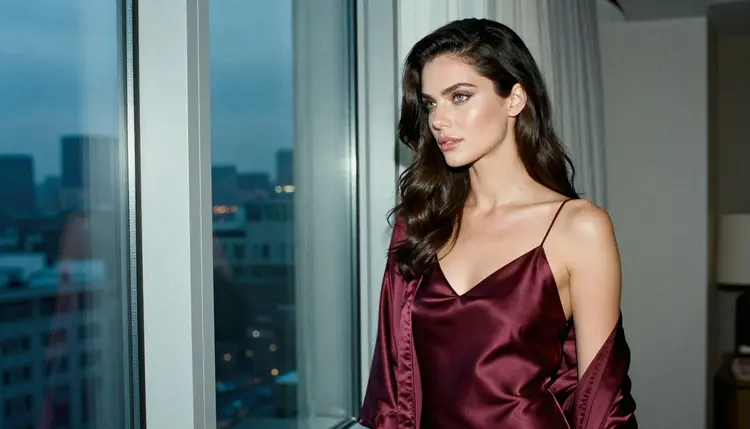
The new outfit looks pasted on. When the garment ignores the pose, the fabric does not fold with the body or the light does not reach it. Add the light to the instruction, name the fabric so it can catch light the right way (satin shows highlights, lace shows texture), and keep the same pose in the anchor sentence.
The result is a different color than you asked for. Color words compete when there are several in one prompt. Use one main color for the garment and name the others only when they must stay: "burgundy satin slip, keep the ivory coat." If a color keeps slipping, say it twice, once in the change and once in the closing check.
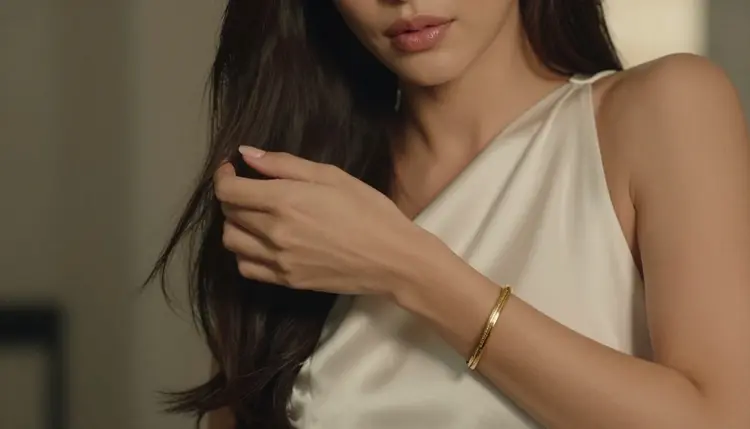
The hands or small details go wrong. Jewelry, fingers and fabric edges are the details that edits stumble on. Ask for one hand in frame at most, keep accessories simple, and crop the base image to a frame where those details are not the focus. A detail shot of one hand holding a folded satin slip is a good test of how well a model handles fabric.
You keep iterating and quality drops. Each pass builds on the last one. After a few edits on top of edits, small errors stack up. Go back to your last clean keeper, or to the original base image, and redo the final change from there. Saving keepers at each stage is what makes this possible.
The model refuses the prompt. If an untested editing model declines, the app shows "Content Not Supported by This Model" and suggests models that accept adult prompts, with your prompt carried over. You can switch to Picasso Image Editor Pro, which is confirmed, and run the same instruction there. If you want to turn the finished look into motion, how to describe clothing and outfit changes in an NSFW video prompt takes the wording into video.
This page is for adults only. Picasso IA is an 18+ service, and everything described here assumes that you are an adult using the tool in a place where that content is allowed. If you are not an adult, this guide is not for you.
Every character is a fictional adult. Never use a real or identifiable person as a base image, and never create anyone who could read as a minor. This applies to the base image, to the reference images you attach and to every word of the prompt. The characters in this guide are original, and your edits should stay original too.
What you create is private by default, tied to your account and not published or shown to others. A new account can try a small free trial on selected models, and the pricing page explains how generation works beyond that. Keep the content suggestive: wardrobe, light, pose and mood, never explicit.
If you would like to see how other looks fit together, generating a full NSFW character set shows how to plan several outfits and frames for the same character in one session.
Can I change only the hair without touching the outfit?
Yes. Attach the base image to Picasso Image Editor Pro, start the prompt with what must stay the same, and name only the hair: length, shape and finish. Leave every clothing word out of that pass, then do the outfit as a second edit.
Should I change hair or outfit first?
Hair first. Clothing sits on the neckline and shoulders that a hairstyle covers or exposes, so a finished hairstyle gives the outfit pass a stable frame. Save the hair result as a keeper, then change the clothing from that image.
Which model is best for editing an existing character image?
Picasso Image Editor Pro is the confirmed model built for editing an image you already have, and it carries the unlimited tag in the catalog. Flux Kontext Pro and Qwen Image Edit Plus are also worth a try, but they are untested for adult prompts.
How do I keep the face the same after an edit?
Name the face in the anchor sentence, request one change per pass, and always run the edit from your base image or last clean keeper. If the face still drifts, read the guide on keeping an NSFW character's face consistent.
Can I use a picture of a garment as a reference?
Yes, on models that accept several inputs. In the toolkit each attached image gets an @1, @2 badge, and you can write "dress the woman in @1 in the outfit from @2" in the prompt. Picasso IA translates the reference to the syntax each model understands.
What do I do if the model refuses my prompt?
The app shows a message titled "Content Not Supported by This Model", recommends models that accept adult prompts and carries your prompt over so you do not retype it. You can also switch to one of the confirmed models yourself, such as Picasso Image Editor Pro or Seedream 4.5.
Can I change the outfit to swimwear or lingerie styling?
Yes, as long as the result stays suggestive and not explicit. Name the style, fabric and color, for example a burgundy satin slip or an emerald bodysuit, and keep the pose and light in the anchor sentence. Wardrobe, light and mood carry the picture.
Why does my edit look different from the base image?
The instruction was probably too broad, or it mentioned both hair and clothing. Shorten it to one change, put the anchor first, and add the light you want kept. Restart from the base image instead of from a result that has already drifted.
Is what I create private?
Yes. Generations are private by default, tied to your account and not published or shown to others. That holds for the base images you attach and for every edit you make, and you decide what to do with the files you create.
Who can use this guide, and who can I edit?
Only adults, 18+. Every character must be a fictional adult. Never use a real or identifiable person, and never create anyone who could read as a minor. Keep every edit suggestive, with wardrobe, light and pose, never explicit.